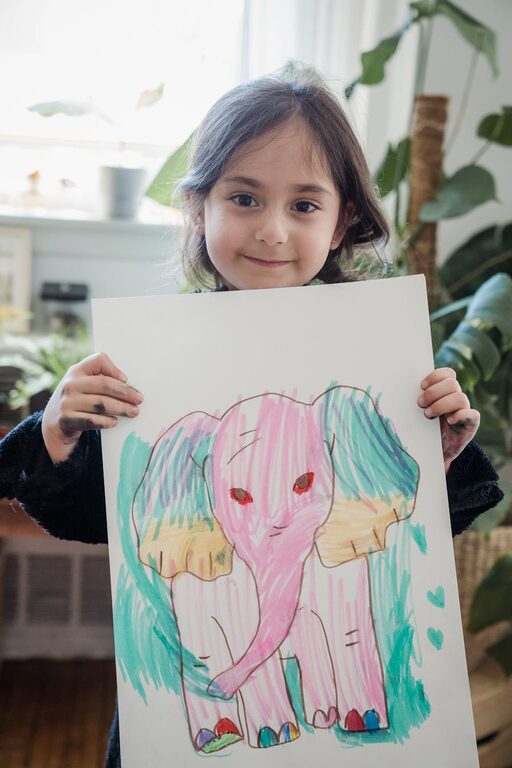
Children’s artwork is a wonderful way to capture their creativity, milestones, and imagination. However, if not managed well, the growing collection of drawings, paintings, and crafts can quickly take over your fridge, drawers, and countertops. Organizing kids’ art doesn’t mean you have to toss their masterpieces; instead, with a few simple strategies, you can keep these treasures safe, accessible, and beautifully displayed.
In this post, we’ll explore practical and creative tips to help you organize and preserve your child’s artwork effectively.
Why Organize Kids’ Art?
Before diving into tips, it’s helpful to understand why organizing children’s artwork matters:
– Keeps your home tidy and clutter-free
– Helps you save meaningful memories
– Makes it easier to share memories with family and friends
– Encourages your child’s pride and confidence in their creations
With these benefits in mind, here are some great ways to get started.
1. Create a Dedicated Art Display Area
Use a Rotating Gallery Wall
Choose a specific wall or section in your home where you can display current favorite pieces. Use frames, clipboards, or wire with clips to hang artwork flexibly. This allows you to rotate new creations regularly without cluttering the space.
Consider a Corkboard or Magnetic Board
Corkboards and magnet boards enable easy pinning or sticking of new art. Kids will enjoy changing the display themselves, fostering a sense of ownership.
2. Store Artwork in Portfolios or Binders
For pieces you want to keep but not display:
– Use large art portfolios or expandable folders to keep flat drawings and paintings organized by date or theme.
– Alternatively, use clear plastic sleeves inside large binders. These protect the artwork and make flipping through them convenient.
Label each portfolio or binder with the child’s name and year to keep archives well organized.
3. Digitize Your Child’s Artwork
Taking photos or scanning artwork is a modern way to store memories without physical clutter.
– Capture the image in natural light for best quality.
– Store digital files by date or project type.
– Use apps or cloud services for easy access and sharing with family.
Digital archives are perfect if you want to preserve every piece but have limited storage space at home.
4. Create Art Books or Calendars
Turn your child’s favorite artwork into a professionally printed book or calendar. Many online services allow you to upload images and customize layouts. This approach makes a beautiful keepsake that is compact and organized.
5. Use Storage Boxes for 3D Crafts
Three-dimensional projects like sculptures, dioramas, and models require different storage solutions:
– Use clear plastic bins or shallow boxes to store these larger items.
– Label the boxes with the child’s name and year.
– Consider displaying a few special pieces on shelves to celebrate their creativity.
6. Encourage Selectivity and Regular Review
As children create a large volume of artwork, it helps to regularly review which pieces to keep, display, or recycle.
– Involve your child in choosing their favorite pieces.
– Set a limit on how many artworks to keep each month or school term.
– Use this opportunity to teach decision-making and organization skills.
7. Repurpose Art Creatively
Transform some of the artwork into useful or decorative items around the home:
– Use pieces as gift wrap or cards for family occasions.
– Decoupage artwork onto notebooks, boxes, or furniture.
– Turn drawings into fabric prints for pillows or t-shirts.
This way, artwork continues to bring joy in new forms while preventing buildup.
8. Label Everything Clearly
To avoid confusion later, label artwork with dates, titles, or any notes about the project. Labels can be discreetly placed on the back or in storage containers. This adds context and makes it easier to recall the story behind each piece.
Final Thoughts
Organizing kids’ artwork doesn’t have to be overwhelming or boring. With a combination of display, storage, digitizing, and creative repurposing, you can celebrate your child’s creative journey without sacrificing your living space. The key is to find a system that works for your family’s lifestyle and to keep the process enjoyable for both you and your child.
Happy organizing and celebrating those wonderful little masterpieces!

